Create a Photo Slideshow for Your Wedding—in 6 Easy Steps!
A wedding photo slideshow is a nice addition to a reception. Here's how to create one—easily and stress-free.
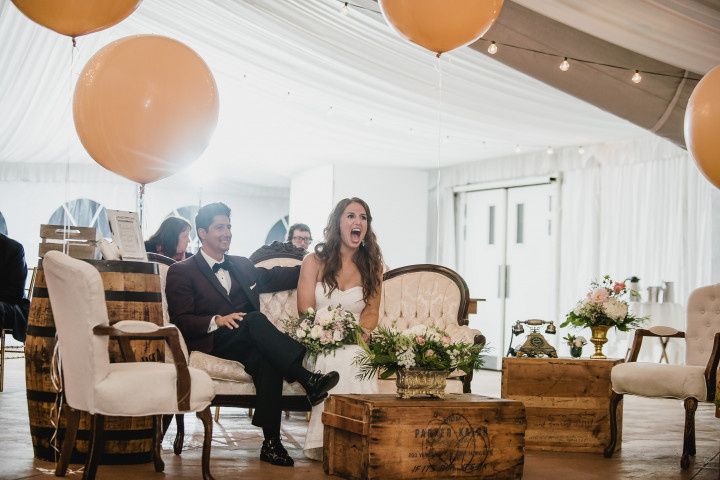

Photo: Kari Dawson Weddings
Looking for a surefire way to keep your guests entertained, delighted and moved at your wedding reception or rehearsal dinner? Put together a photo slideshow featuring childhood pictures, sweet snaps from your romance and photos featuring your friends and family members — we guarantee everyone will love it.
Here’s how to make a wedding photo slideshow—simply and easily.
Step 1: Get the right software.
First, you’ll need a slideshow-building tool. If you have a Mac, you can use iPhoto to create your slideshow — the software should have come pre-loaded on your machine. Otherwise, you can build one using a free wedding slideshow maker like Smilebox, Animoto, Adobe Spark, Slidely, Movavi or any other free, online slideshow-building tool.
Step 2: Choose your photos.
Now, the fun part! Scour your Facebook albums and tagged photos, scroll all the way back through your Instagram, dig through IRL printed photos (if you have them!) that you might want to scan and upload, ask your friends and families if they have photos of you that they can share — just do some deep digging to find a selection of photos you love.
Consider including pics from the beginning of your relationship, milestone moments, trips you’ve loved and candid snaps, too — don't forget your proposal photos! Your friends and family will also love seeing photos of you two as kids, and photos of themselves with you two as a couple and separately. If you want the slideshow to play throughout your event, you can add as many photos as you'd like. But if you want to create more of a presentation and set aside time to showcase your smile, we recommend keeping it to about five minutes (you don't want your guests to get bored!)—the number of photos depends on a variety of factors, but usually about 60 photos for five minutes is a good rule of thumb. If you don’t have a ton of photos to choose from, that’s fine, too. Photos can always repeat!
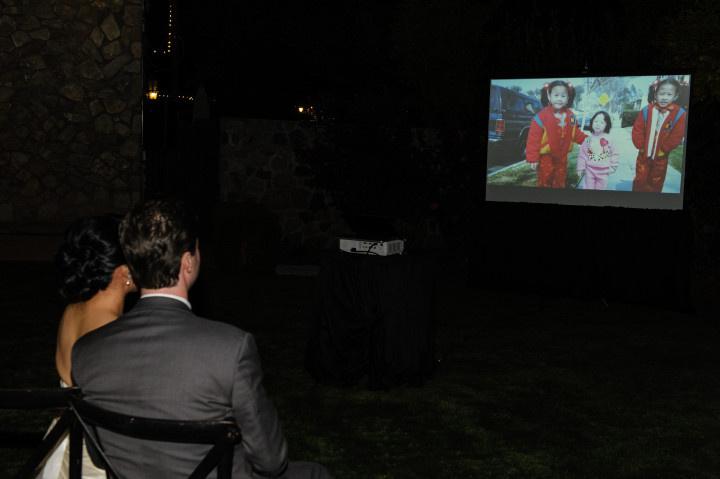
Photo: Diane Askew Photography
Step 3: Upload your photos.
To make a slideshow in iPhoto, first upload all of your images to iPhoto, then click “File>New slideshow” and give it a name. Then, go back to “Photos” and drag all of your chosen pics to your new slideshow. Choose a template under “Themes,” arrange the images in your preferred order and you’re set!
If you’re using another tool, you’ll follow a similar pathway: Choose a template, drag and drop or upload your chosen photos, arrange them in the desired order, and save!
Step 4: Add music (or don’t!).
If you’re planning to show your slideshow at your rehearsal dinner, it might be fun to pair the images with a soundtrack and have both play throughout the night. In iPhoto simply click “Music” at the bottom of the slideshow window, choose the source (e.g. your iTunes library) and add tracks; you can drag and drop them into the desired sequence at the bottom of the “Music” popup window. Look for a similar “Add music” option if you’re using another tool, and upload enough songs to last a bit longer than the length of your event.
If your slideshow will be shown during your reception, you’ll likely want to leave the slideshow music-free to allow your DJ or band free reign to create ambiance. Be sure to talk to your music pro in advance to ensure they’re aware that you’ll be playing a slideshow.
Step 5: Watch, save and export.
Now that you’ve done all that heavy lifting, it’s time to sit back, watch your slideshow and make any final tweaks. Preview the slideshow and move photos or songs around, speed up or slow down the length of time each photo plays, and make any final changes to your photo lineup. Once you’re happy with the results, you're ready to export your slideshow!
In iPhoto, click “Export” at the bottom of the slideshow window. Choose a format based on the tool you’ll be using to broadcast your slideshow (e.g. an iPad, computer or otherwise). Then, save it to iTunes. From there, you’ll be able to drag and drop it to the broadcast tool of your choice.
With a free online tool, you may have the option of downloading your slideshow directly to your computer or sending it to yourself via email. Either option is fine, just be sure the format of the slideshow is compatible with whatever device you’ll use to broadcast it at your event. You may also have the option of burning your slideshow to a DVD and broadcasting that through your laptop.
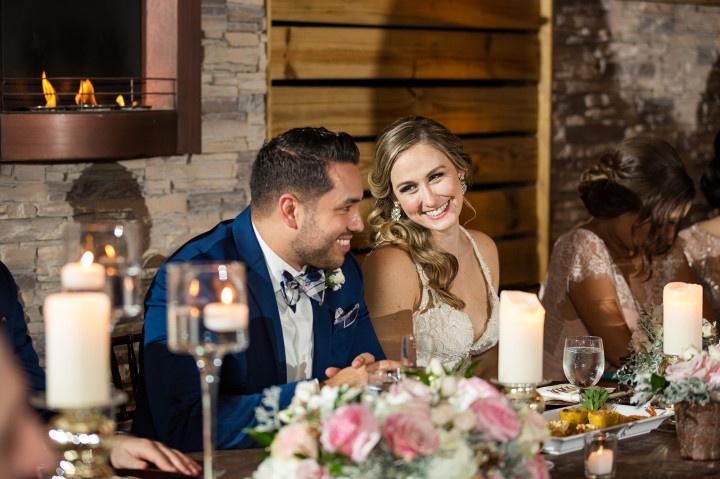
Photo: Dana Lynn Photo, Video & Photobooths
Step 6: Get ready to show off your creation.
To show your slideshow, you’ll need a laptop or tablet (with the slideshow file on it, of course!), a projector, a screen or pale-colored wall to project it onto, and the correct cable to connect your computer and the projector (likely HDMI, VGA or DVI). Also, don’t forget your power cord! You’ll want to plug in your laptop or tablet to ensure it doesn’t die during your event. And remember you’ll need external speakers if your slideshow includes music.
If in doubt, check with your venue to see what sort of equipment you’ll need—they’ve likely handled these sorts of things many times before. Your venue manager should be able to give you all the necessary information, and help you test things out before the big day. If you have the right tools, you should be able to simply connect your computer/tablet and projector, open your slideshow and press play — but it’s always good to try things out in advance, just to be safe. Your DJ or band should be able to help with this as well—and can point you in the right direction if you need to rent audio-visual equipment.
And that’s it, friends! Making a slideshow is easy breezy—and a great task to delegate to an eager friend or relative, if you’d prefer. If you’re feeling more analog, though, you can always opt for a line of twine with physical photos pinned to it using mini clothespins — always a hit with guests!

